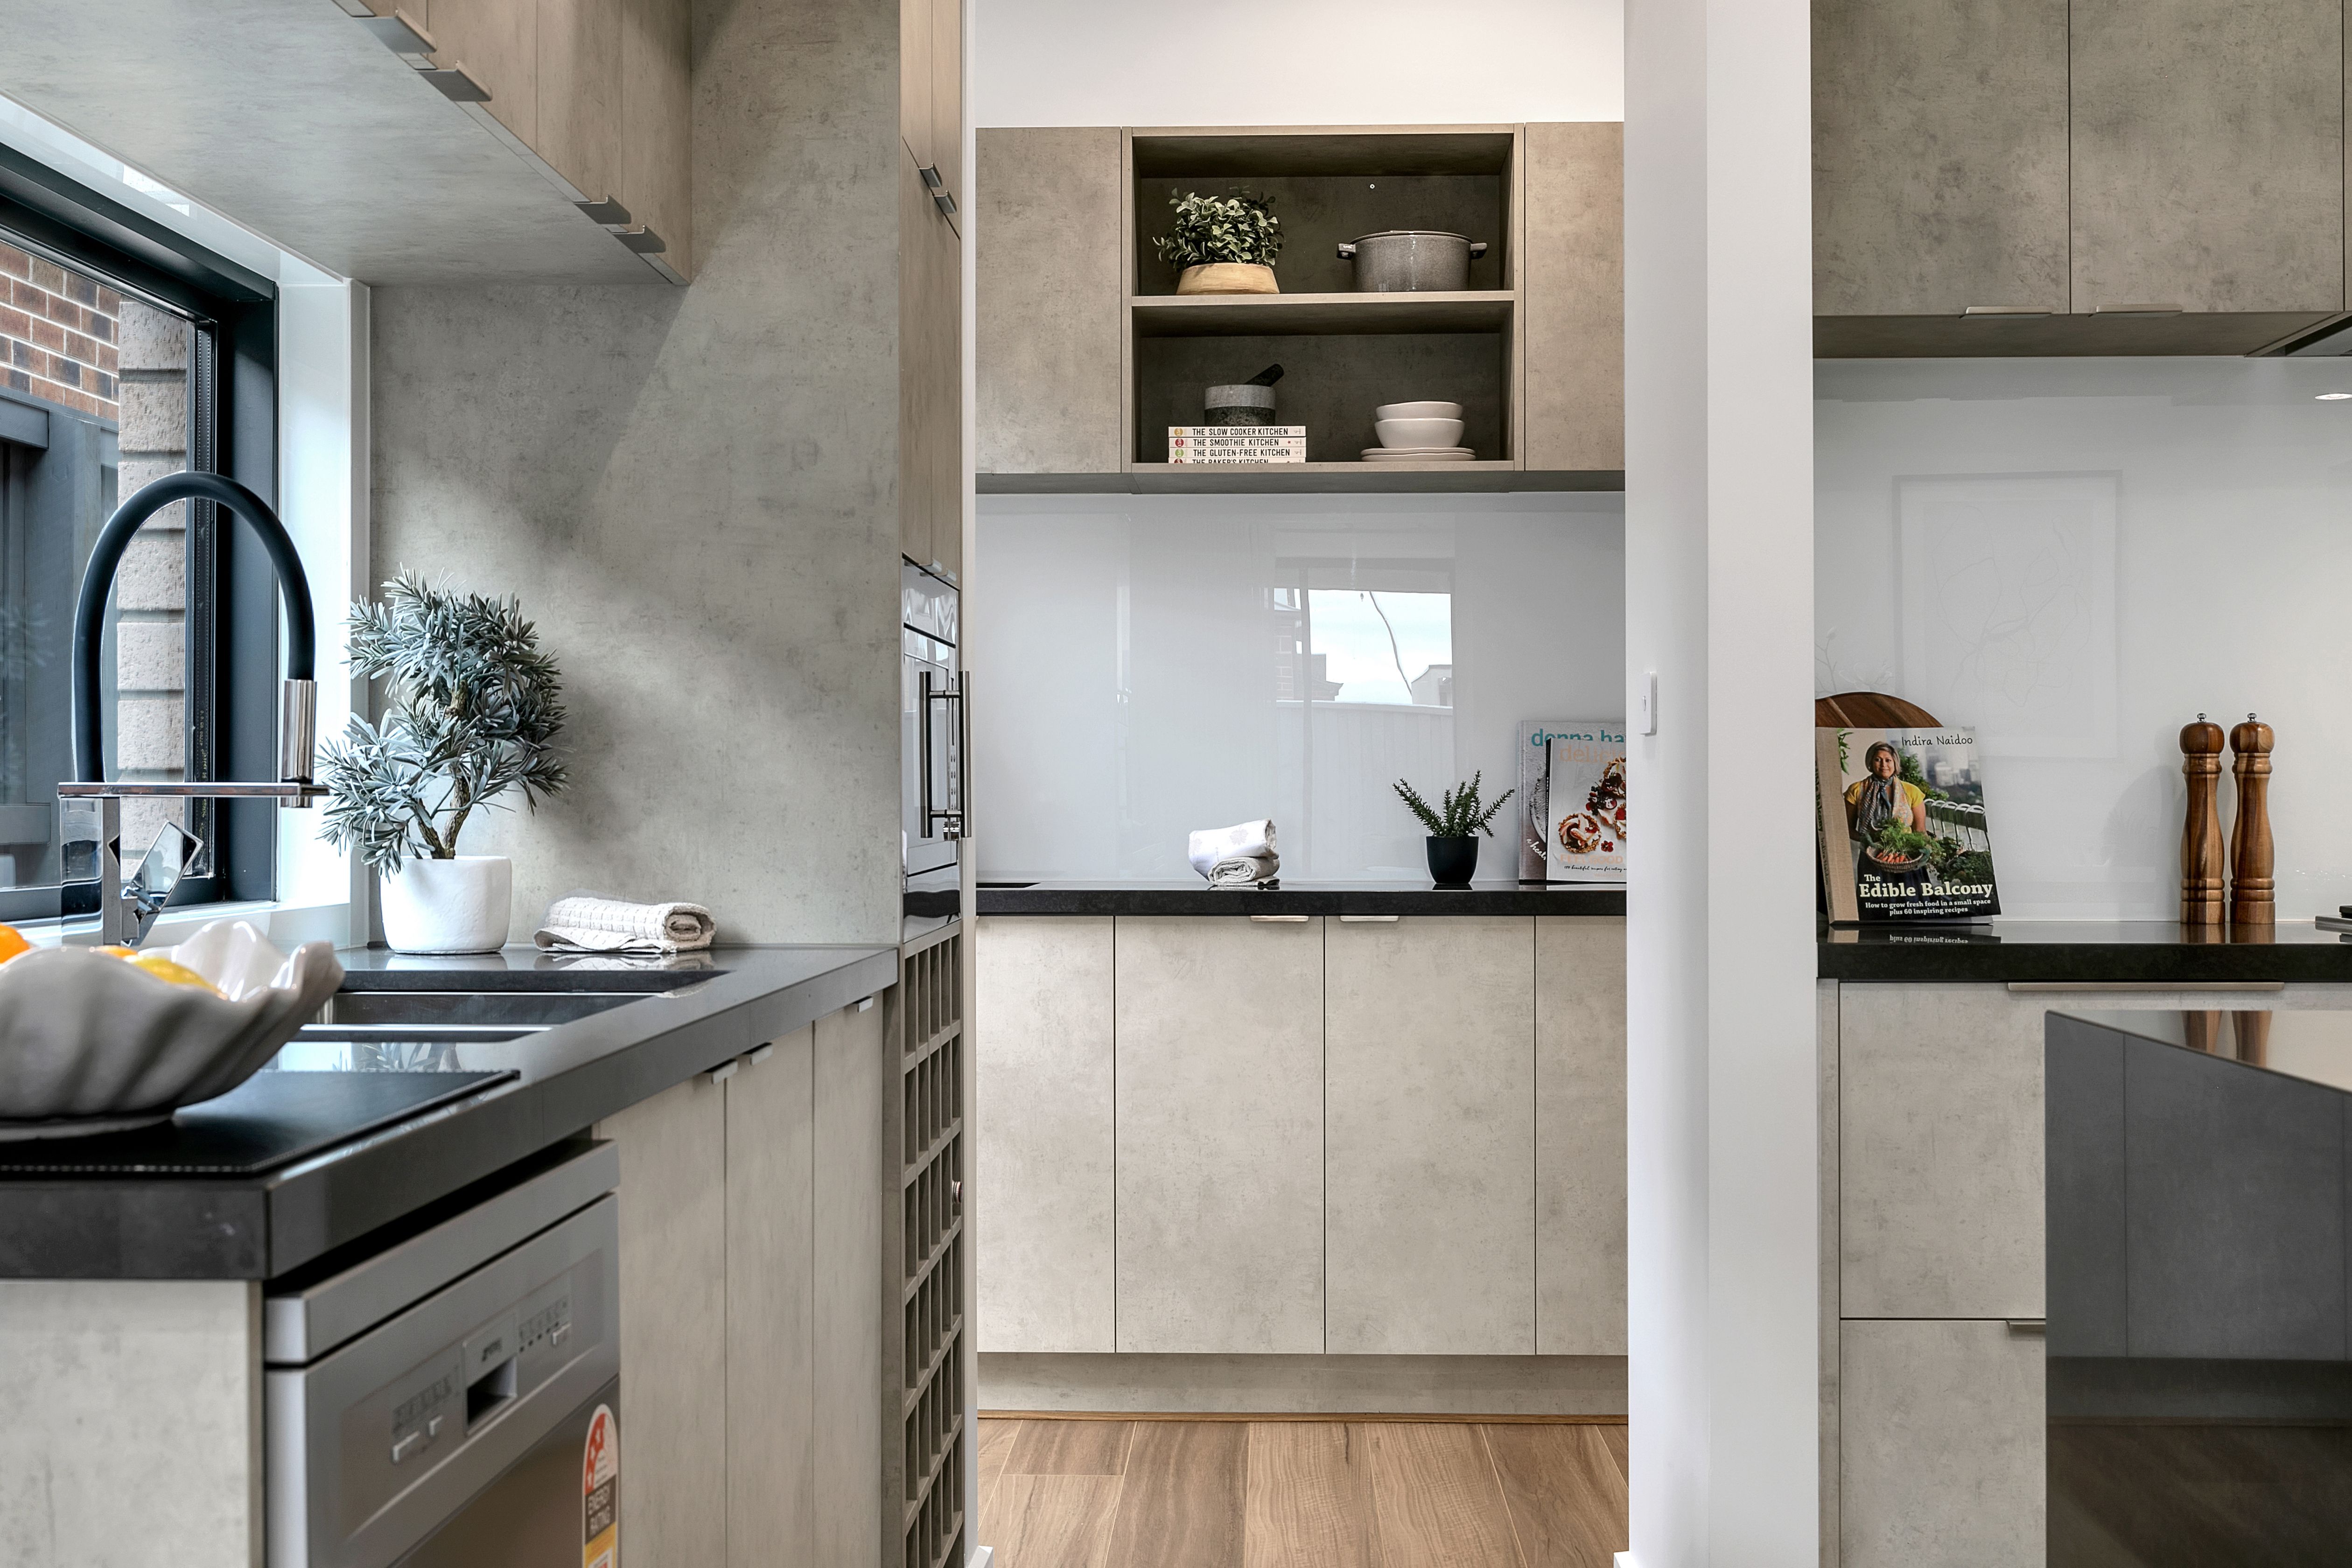
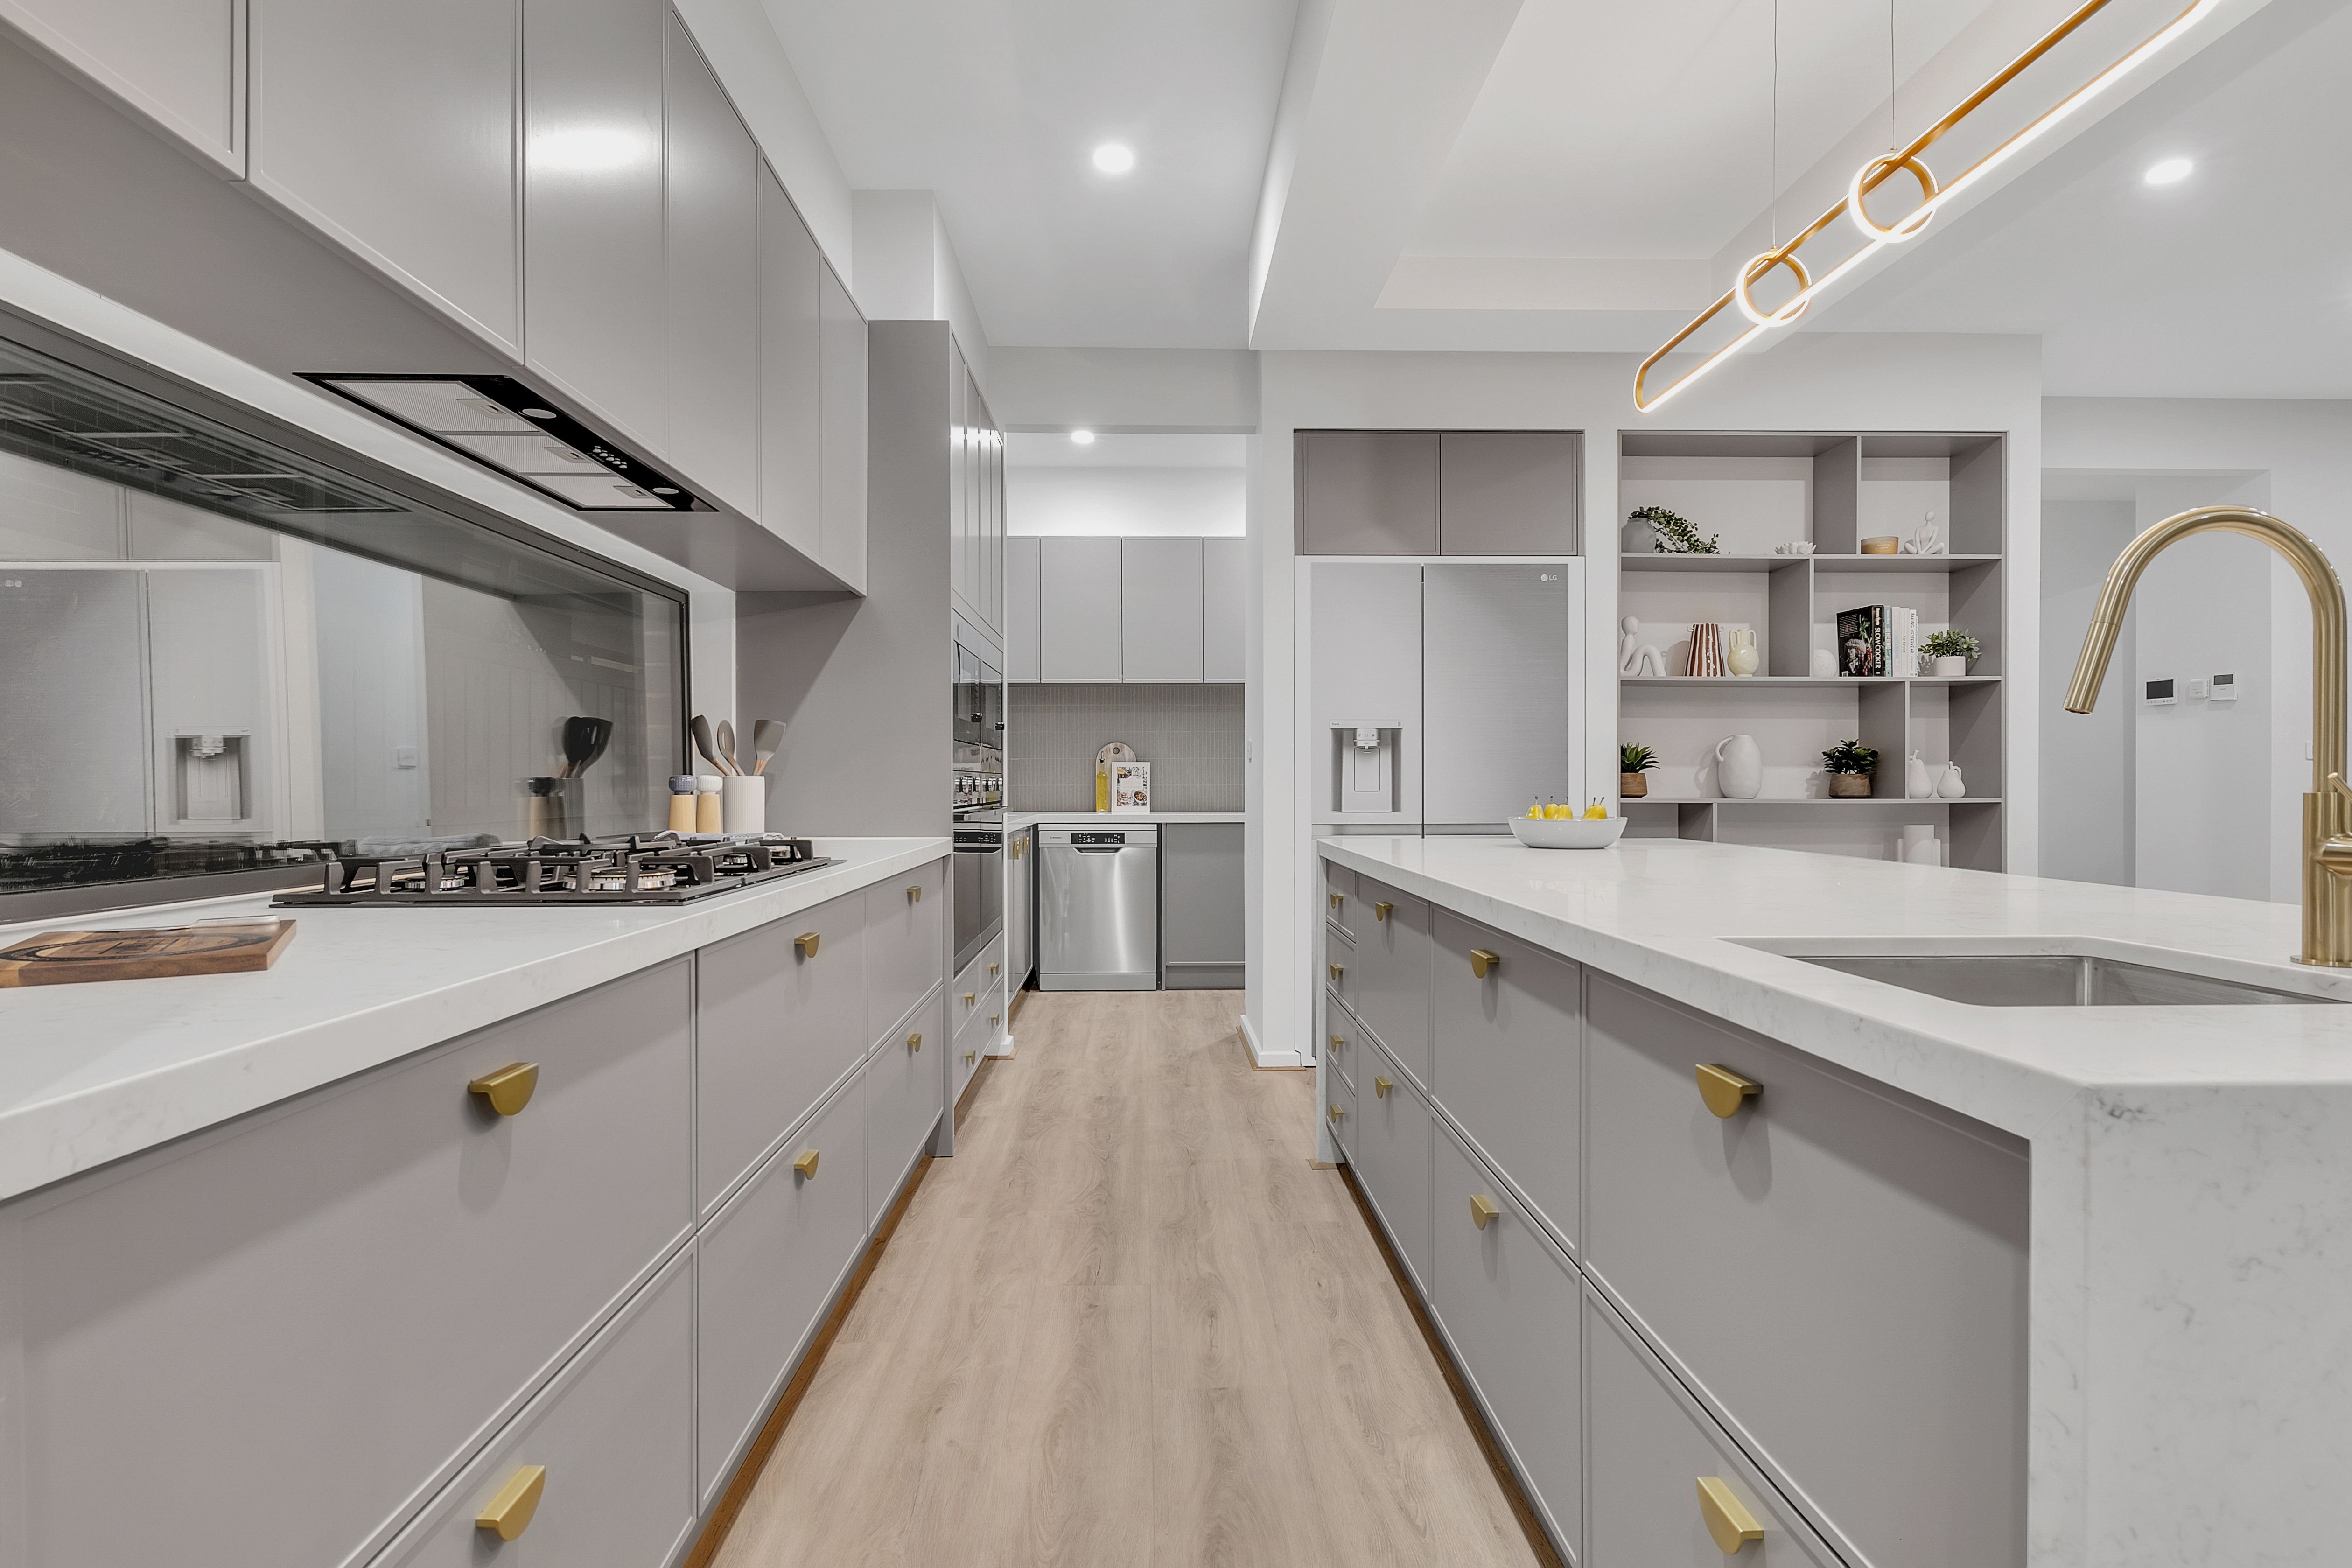
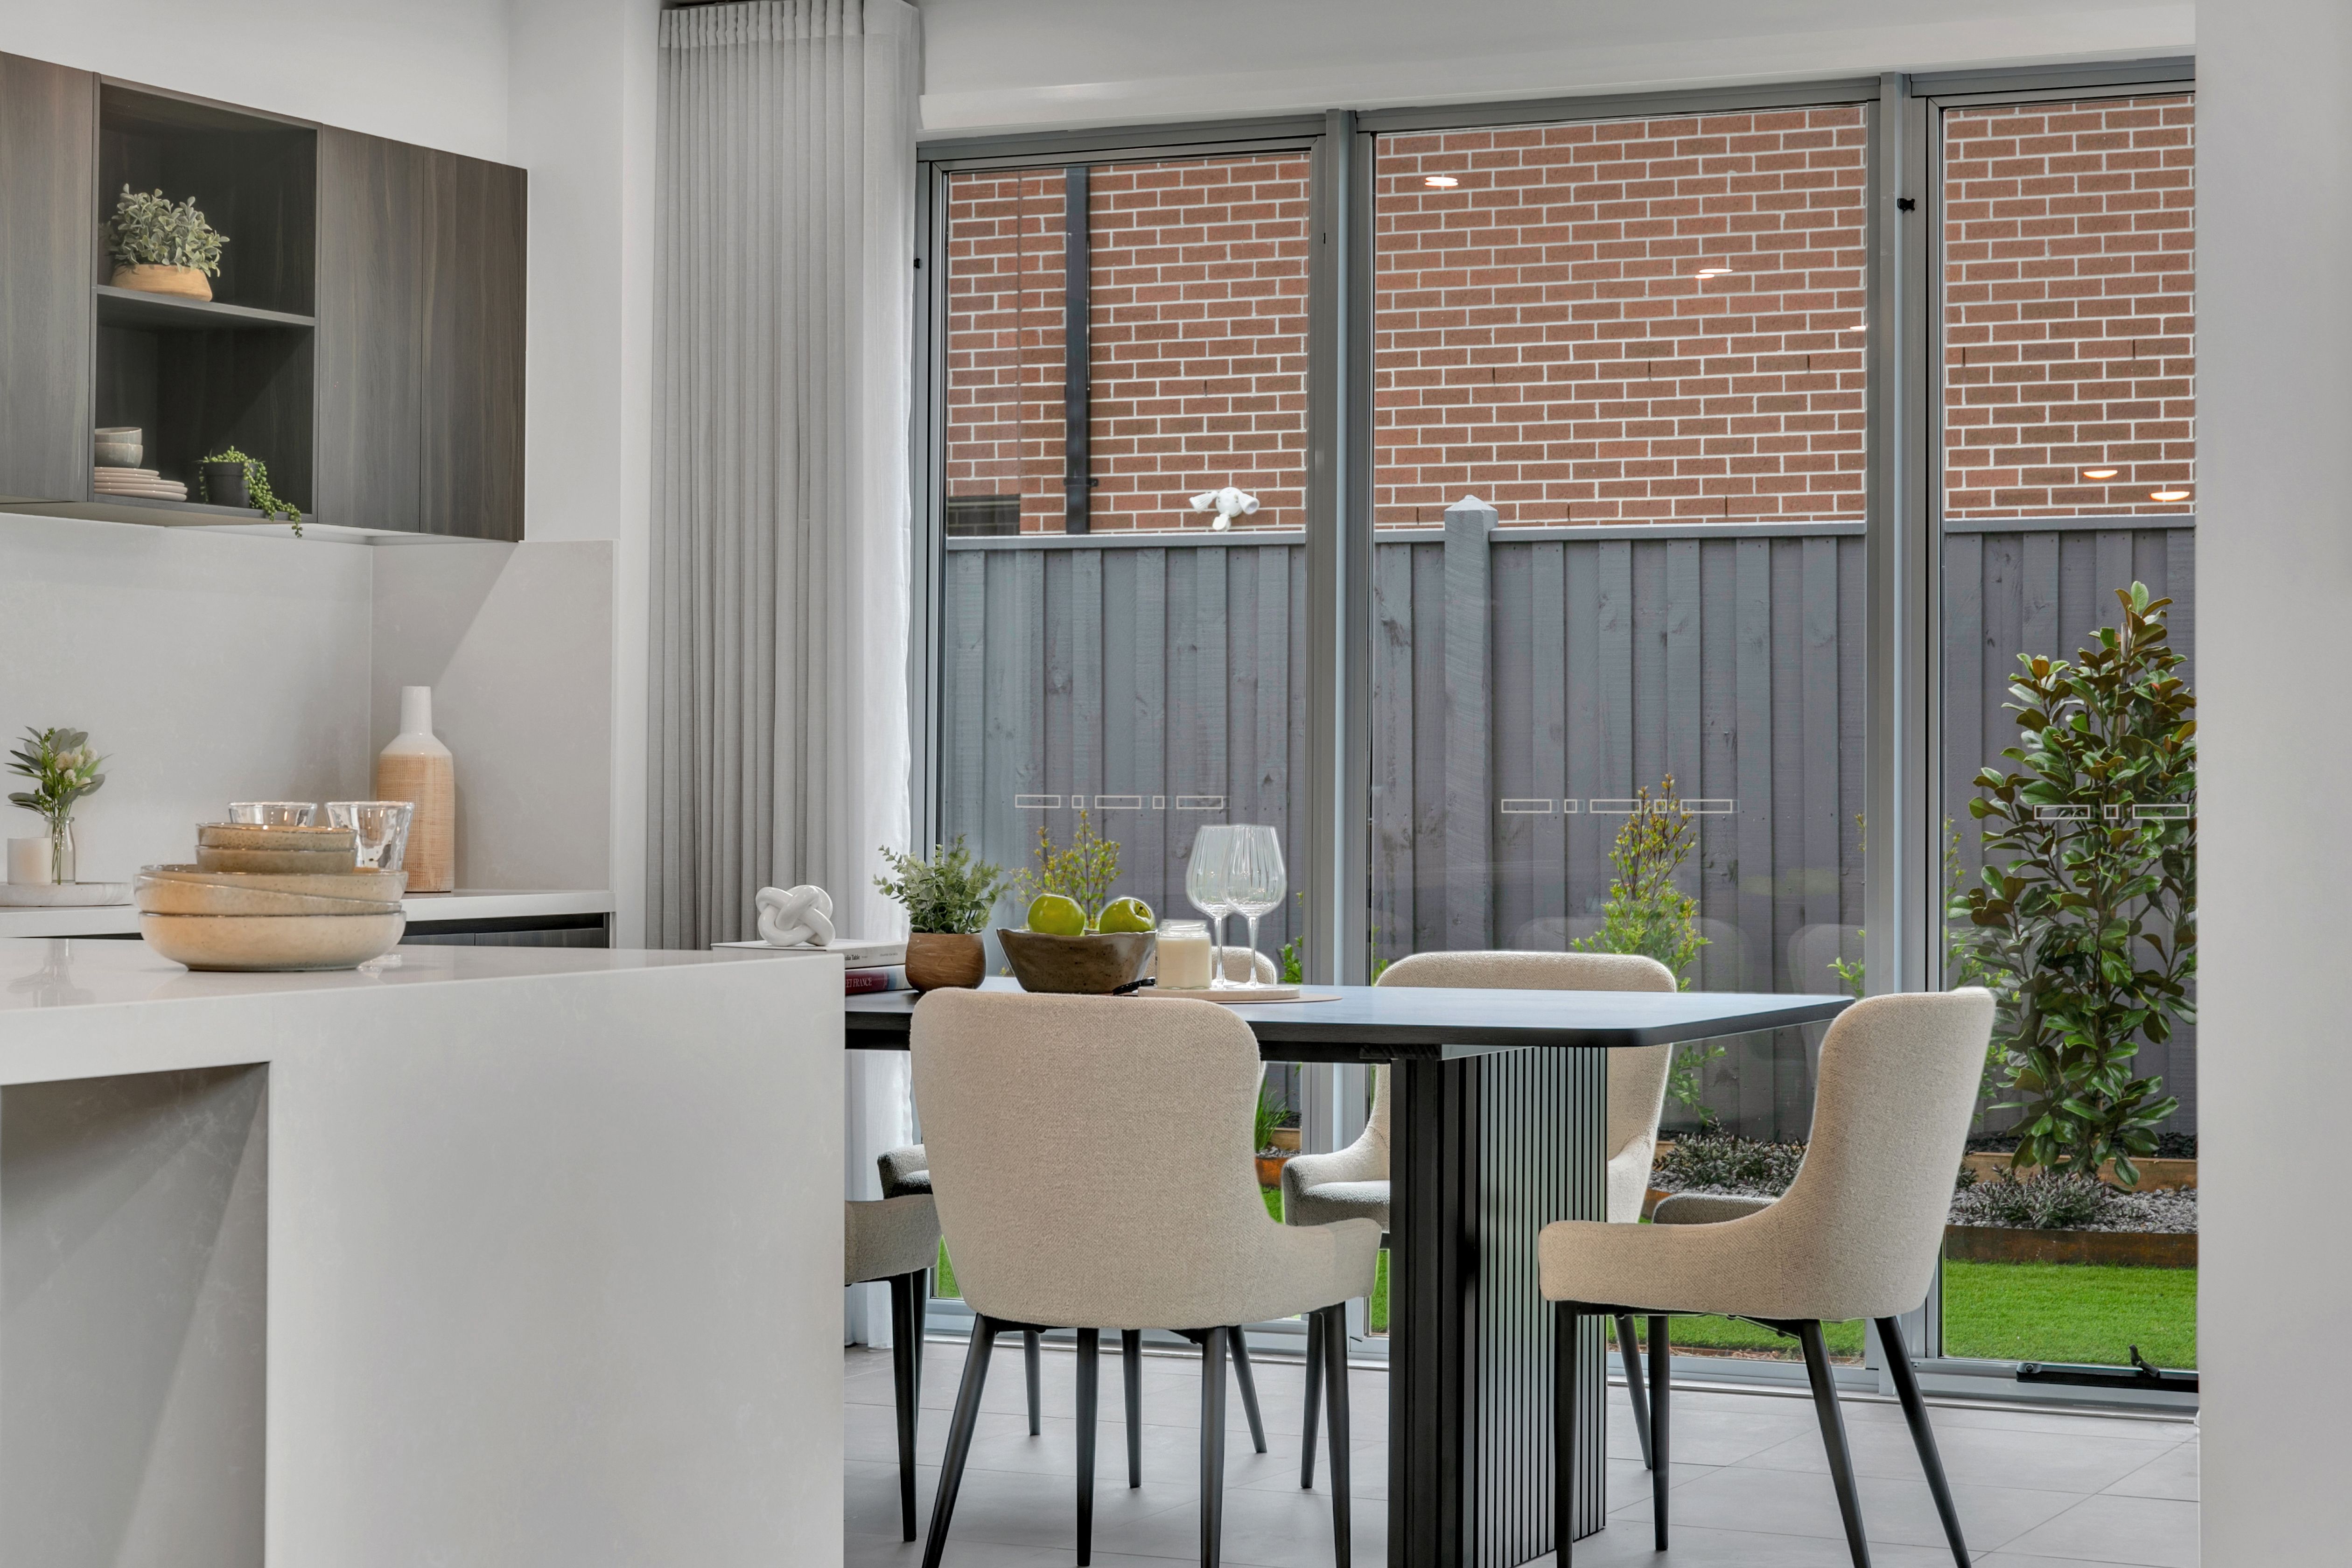
Steps to Site Preparation for Construction

At Ridgewater Homes, we understand that a strong foundation is crucial for building a great home. Our commitment is to guide our customers through every step of their journey, providing them with the knowledge and confidence needed to bring their dream homes to life. In this comprehensive guide, we will outline the essential steps required to transform a raw plot of land into a construction-ready site. Site preparation is a pivotal phase in the home building process, and we’re here to make it easier for you.

1. Initial Site Analysis & Observation

Before commencing construction, it’s imperative to conduct an initial site analysis and observation. A registered site surveyor will assess your land, defining boundaries, orientation, slope, size, and any building restrictions or zoning regulations. This assessment also addresses cut and fill requirements for uneven or sloping land. This initial analysis is a vital step that helps identify potential obstructions and prevents costly surprises later in the process.

2. Soil Testing

Following the site analysis, an engineer will test the soil on your property. This process determines the composition, condition, stability, and bearing capacity of the soil where your home will stand. Soil reactivity and its response to moisture changes are classified to assess the potential for ground movement and erosion, which can affect your home’s foundation.

These tests also reveal any underground obstructions that may need removal before construction begins. Results help determine the appropriate footing system and slab classification, facilitating precise positioning of your new home on the land.

3. Land Excavation & Levelling

After surveying and soil testing, land excavation begins. An excavation company is responsible for removing rocks, underground infrastructure, and leveling the land for construction. The cut-and-fill technique evens out high points and low troughs, creating a flat foundation for your new home. In cases where maintaining the slope is preferable, a split-level approach is employed to create flat surfaces for building.

The compacting of the ground ensures stability, preventing soil movement beneath the home in the future. If your land is in close proximity to a neighbor’s property, a retaining wall might be necessary to prevent land from encroaching onto your plot.

4. Concrete & Screw Piers

In cases where additional stabilization is needed, concrete or screw piers are introduced to support the home’s foundation. These piers, either drilled or screwed into the ground, provide stable points for the building to rest upon, reducing reliance on compacted soil.

5. Utility Connection

With the land leveled and footings installed, utility connections, such as plumbing and electrical systems, are integrated into the foundation according to the site plan design. Termite protection is also applied during this phase to safeguard against erosion and termite intrusion.

6. Pouring the Slab

After utilities and protection measures are in place, it’s time for the exciting stage of pouring the concrete slab. The choice of slab type is determined by the soil testing results. Common types include waffle slabs and polyvoid slabs, each offering specific benefits for stability and movement prevention.

Next Steps

At Ridgewater Homes, we believe that building a new home should be a stress-free experience. When you choose Ridgewater Homes, you’re not just building a home; you’re building your dream from the ground up. If you have questions about the site preparation process or need expert guidance, please don’t hesitate to contact our experienced team.